Mendix on Edge
How to use Mendix to develop Industrial Edge applications?
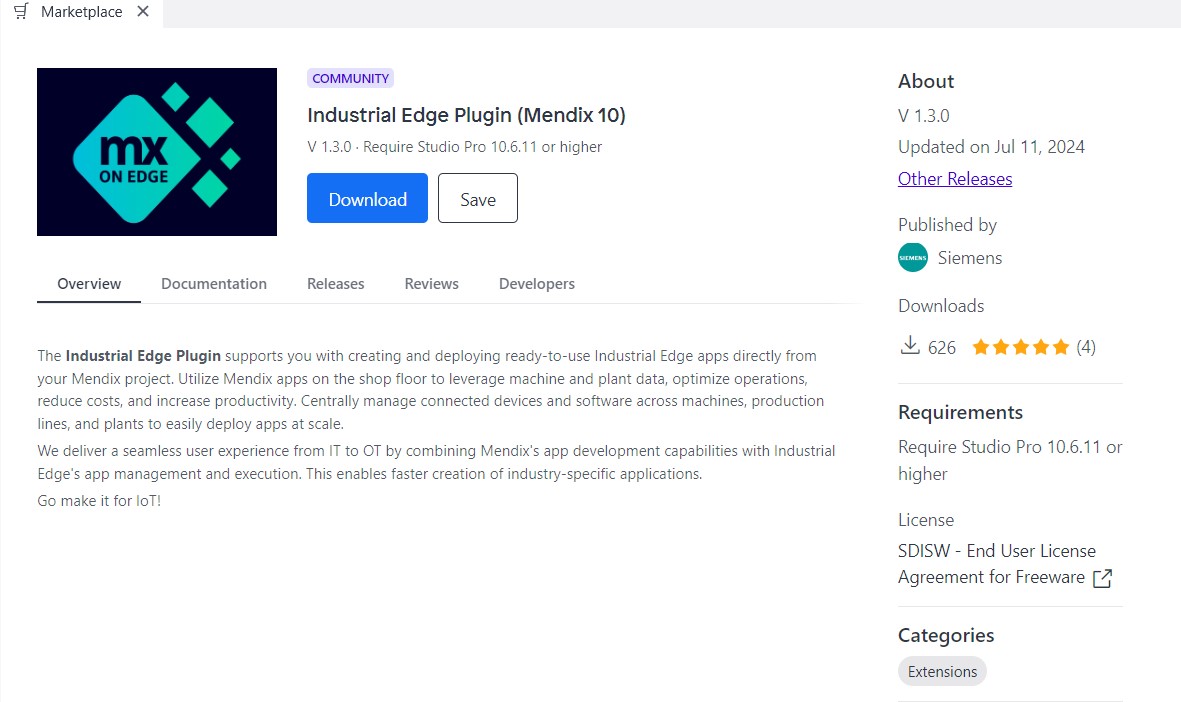
The plugin for Mendix Studio Pro on the Mendix Marketplace enables development within the developers familiar environment. Downloading the plugin from the Mendix Marketplace and extending the IDE with it allows the app developer to upload Mendix apps to the IEM (Catalog or App Project) and/or IE Hub, once developed.
Using the Industrial Edge Plugin supports a Mendix app uploading path to Industrial Edge. These are the steps to follow:
- Download and open Mendix Studio Pro. Open an app project.
- Download the Industrial Edge plugin (Mendix 10) or (Mendix 9) from the Mendix Marketplace.
- Open the plugin in the app project.
- Follow the instructions to deploy the Mendix app on Industrial Edge.
Deploying Mendix on Edge
These are the steps to deploy Mendix app on Edge:
-
Download and open Mendix Studio Pro. Open an app project
- Register on www.mendix.com
- Download and install Mendix Studio Pro
- Open the application in Mendix Studio Pro
-
Download the Industrial Edge Plugin from Mendix Marketplace
- Open the Mendix Marketplace and search for "Industrial Edge Plugin (Mendix 10)"
-
Download the Plugin
-
Open the plugin in the app project
-
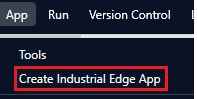
Mendix 10.24 (LTS)
Go to "App" and click on "Create Industrial Edge App"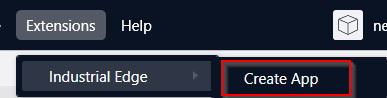 - Mendix 10.6 (MTS)
Go to "App" and click on "Create Industrial Edge App"
-
-
Follow the instructions to deploy your app on Industrial Edge
-
Create your Industrial Edge application
After starting the plugin, you can configure the metadata of your IE app. Most of the information is already prefilled by using your Mendix app data.
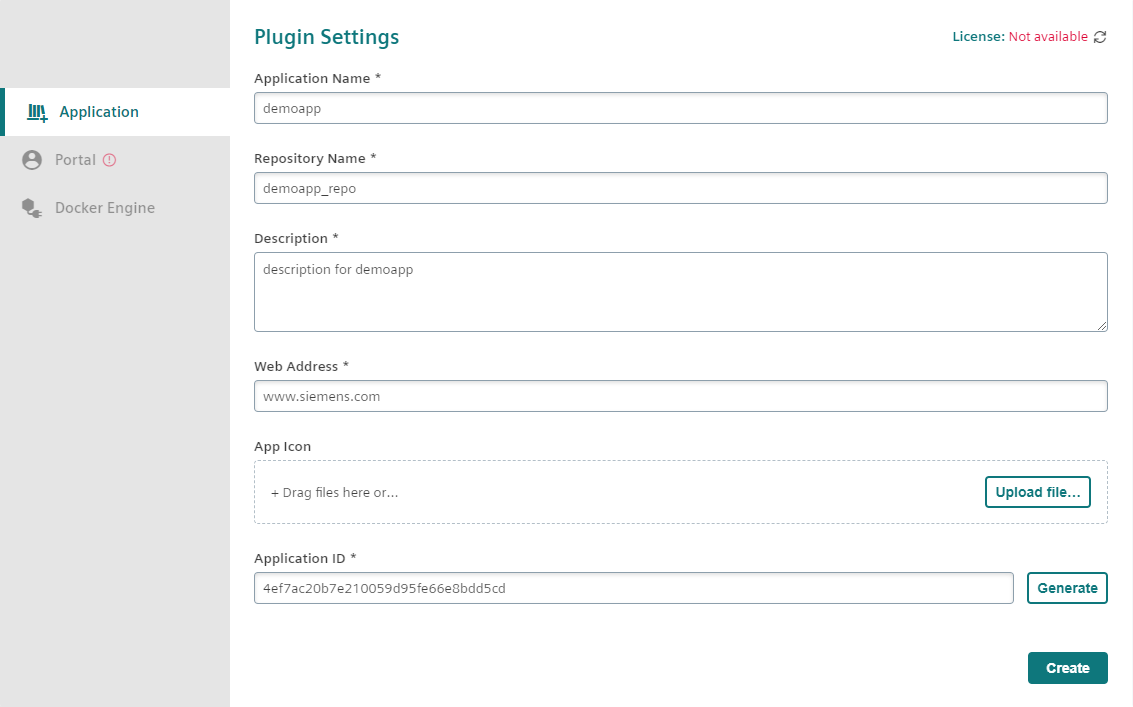
Click on the "Create" button. This will restart the plugin once. The app settings can also be changed afterwards.
NOTICE
Changing application ID will create inconsistencies between your local application and your application on IEHUB.
-
Configure the Industrial Edge Plugin
-
Verify the Mendix Device License from your IE Hub
NOTICE
This is important and needs to be done before creating your app version. If not done before, the application will crash on your IE Device. Using Mendix on Edge in production requires a valid Mendix Device License.
Go to the plugin settings and navigate to "Portal".
Add your IE Hub URL (including the hub/tenant name) which is used to validate the Mendix Device License.
Click on the "Click here" button to authenticate with your IE Hub details.

A browser window will open and prompt a popup to open an external link; allow to proceed further.
Once authenticated, your license is "Verified".
-
Login to your Industrial Edge Management
Enter your IEM URL and click on "Save" to authenticate with your IEM credentials.

A browser window will open and prompt a popup to open an external link, allow to proceed further.
Once authenticated, you can upload your app version to your IEM.
-
Connect to your Docker Engine
In the "Docker Engine" tab of the settings you can enter your Docker engine URL with the exposed port. Example: http://localhost:2375
Click on "Connect" to use the Docker engine for creating Docker images.
The plugin will use this Docker engine to containerize your Mendix app using the Mendix buildpack.

NOTICE
If you change your Docker engine, already created versions might not be able to be uploaded to your IEM.
-
-
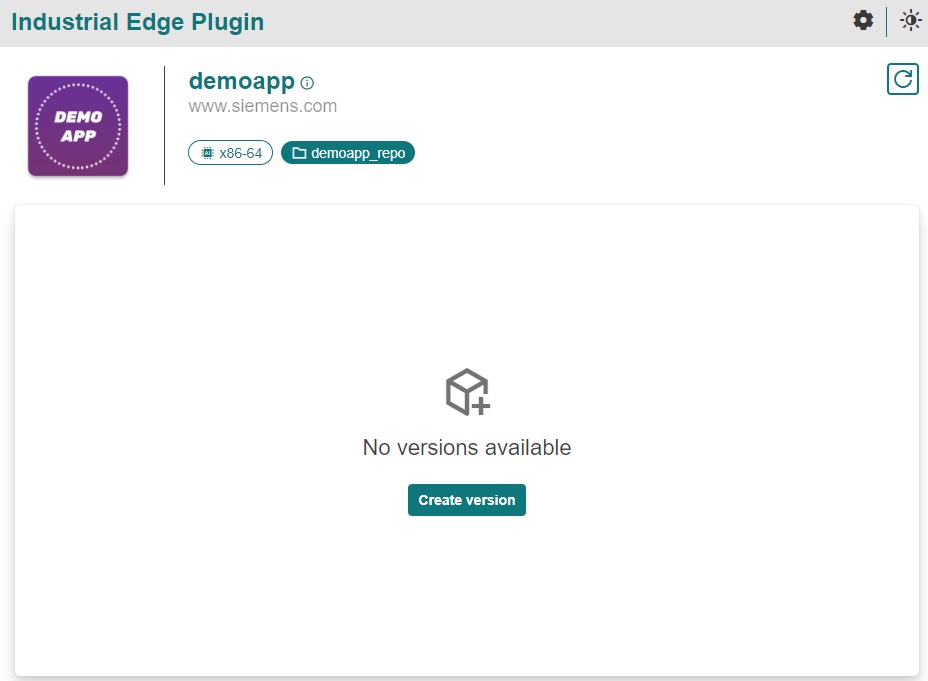
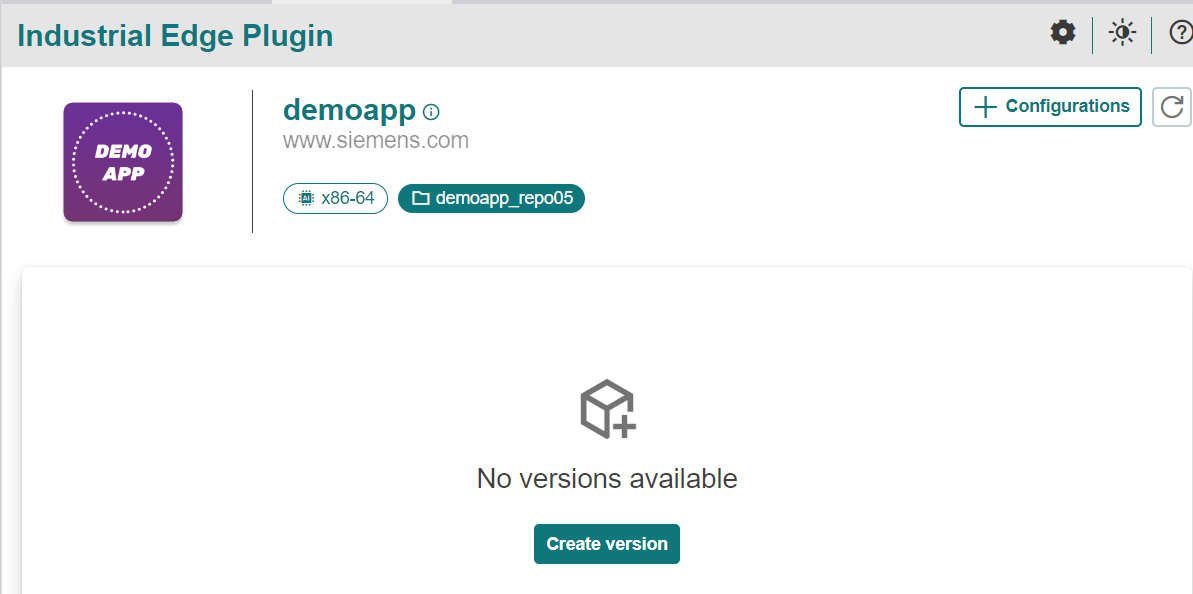
Create an app version
-
Click on "Create Version"
-
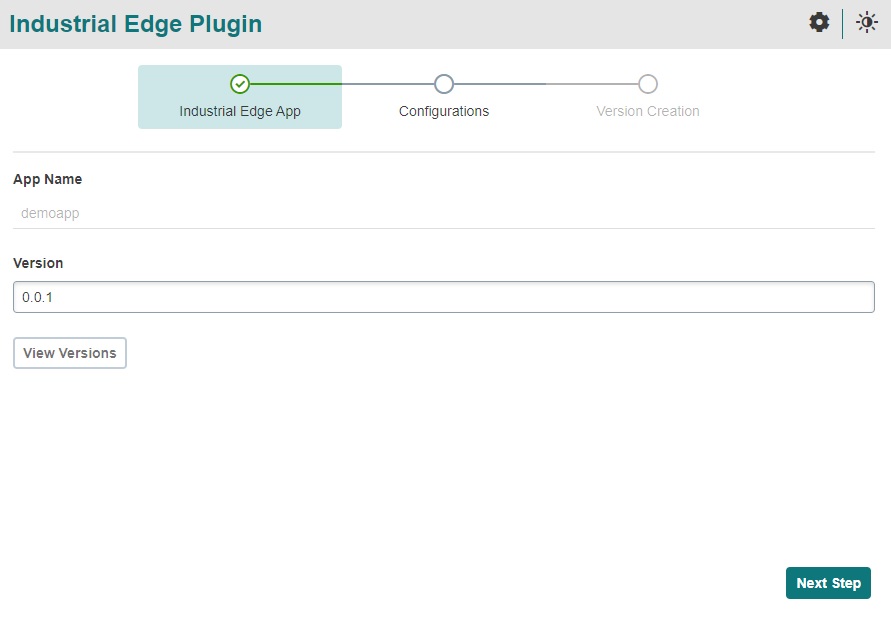
Industrial Edge App
The "App Name" can only be changed in the settings. The semantic version of the app is increasing by 0.0.1 automatically. You can change the version manually.
-
Configurations
Within the plugin, you can upload your docker-compose.yaml or choose a template to start with pre-defined settings.
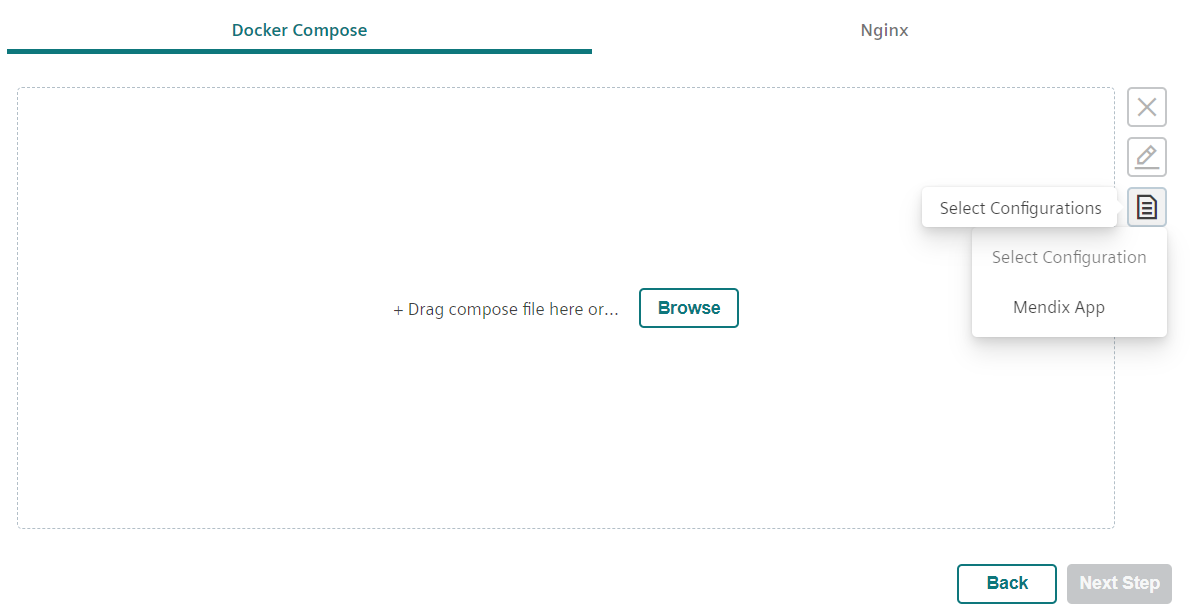
If you are using your own docker-compose file, make sure to provide the following environment variables for your Mendix service.
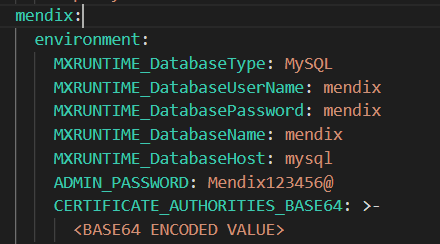
To use the Industrial Edge reverse proxy of the IE Device, you can also provide a nginx.json file in the "Nginx" tab. As with the docker-compose configuration, we are also providing a template here.
Please make sure that the Mendix version you are using is supporting that feature. Mendix 9 for example is not.
If you go to the next step, a popup to build you configuration will open.
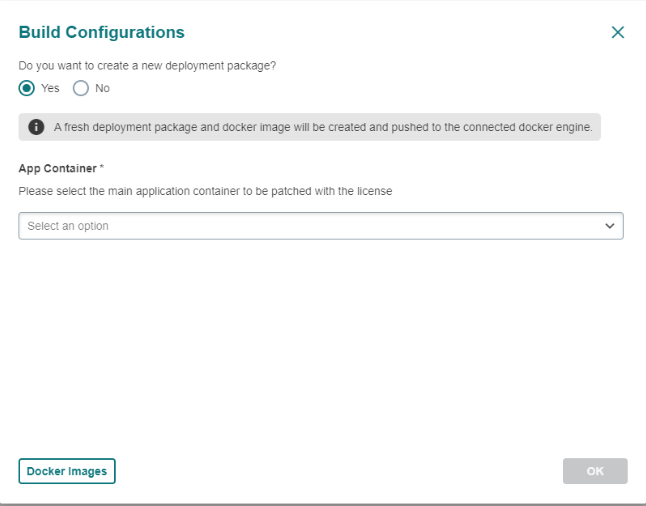
If you are creating a new deployment package of the current project, mendix plugin will automatically create a .mda file of your Mendix app followed by containerizing this deployment package (using Mendix buildpack version 5.0.5).
If you continue without creating a new deployment package, you need to ensure that the configured docker images of your docker-compose.yaml exist in the Docker Engine or are publicly available.
With the "App Container" you are tagging the containerized Mendix image. Make sure to select the service which includes your Mendix app.
If you click on "Docker Images" you can select a dedicated image from your Docker engine to be updated in the service of your docker-compose.yaml.
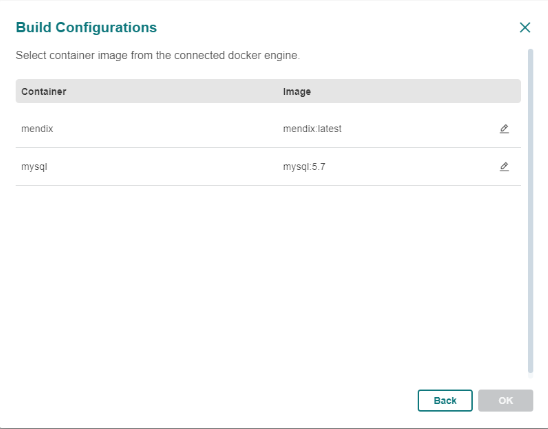
Click on "OK" to start the build process. This may take a few minutes.
-
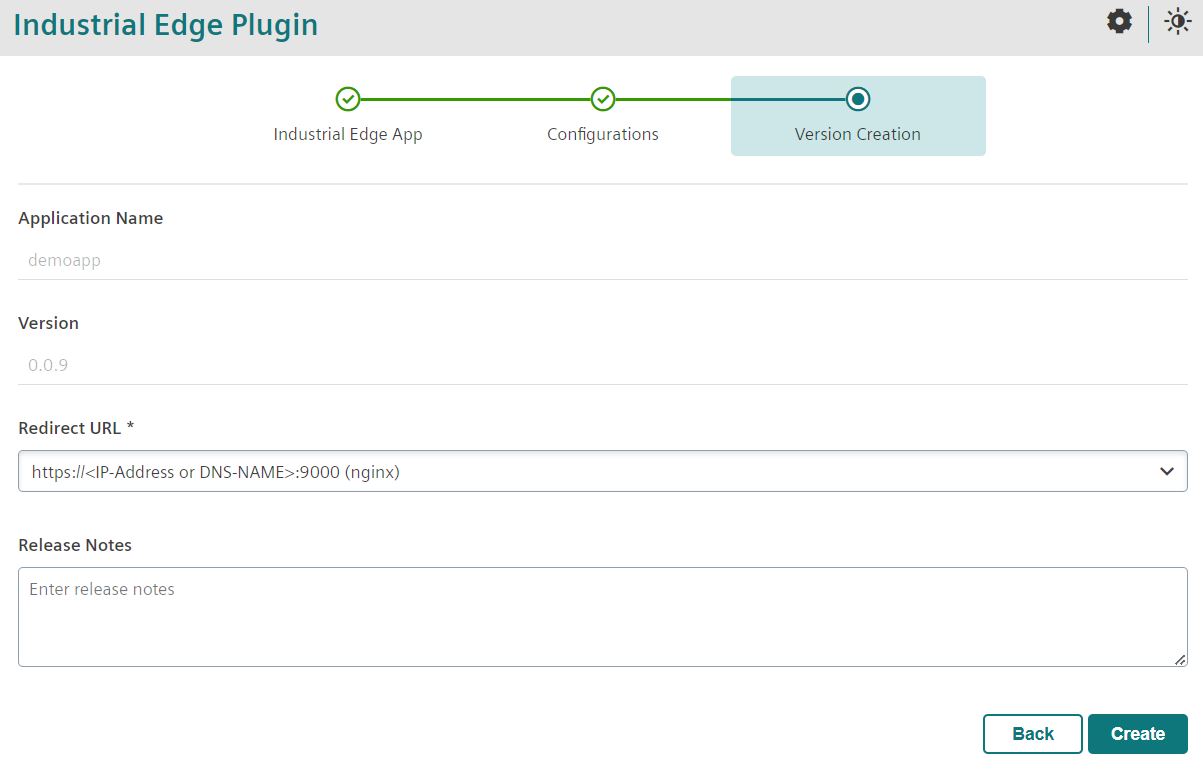
Version Creation
After creating a Docker image of your Mendix app, you have the possibility to provide a redirection for your application using the pre-defined values in the docker-compose.yaml or nginx.json. The redirection is basically the forwarding for the app user to the app when clicking on the app icon on the Industrial Edge Device.
Next to that, you can enter your version release notes which are shown in the IEM.
-
-
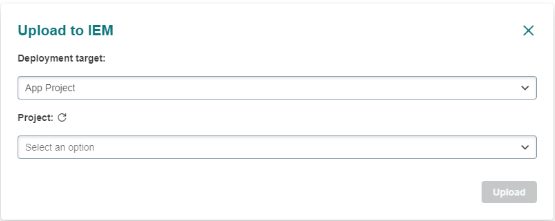
Upload app version
Once a version has been created, you can upload your application to the IEM. Carefully select the upload target (Catalog or App Project) as following:
-
Catalog
Every user in your IEM can see and install your Catalog application which is always on the latest version. Once you have uploaded your unique app to the Catalog, you can not change it to an App Project app anymore.
-
App Project
App Project apps are made for the development and testing of an application. You can select a dedicated user group to grant access and install different versions on IE Devices. Once tested, you can publish a specific version to the Catalog.
-
-
Export app version
To upload your app version in the IE Hub, or sideload to another IEM, you can also export your version locally. An Industrial Edge .app file will be stored in your project workspace in the Mendix app directory.
-
Creating App Configurations
User-specific data are transferred to the app via app configurations (e.g. data for a proxy server or a database). This is particularly relevant for apps that do not have a user interface, since dynamic values for executing the app can be modified using the configuration. You can create several app configurations in the Management UI of the IEM before you install the app. When installing apps onto your Edge Devices, you can select which of the created app configurations should be used. The app configurations are saved to configuration files, these configuration files are stored in the app volumes.
-
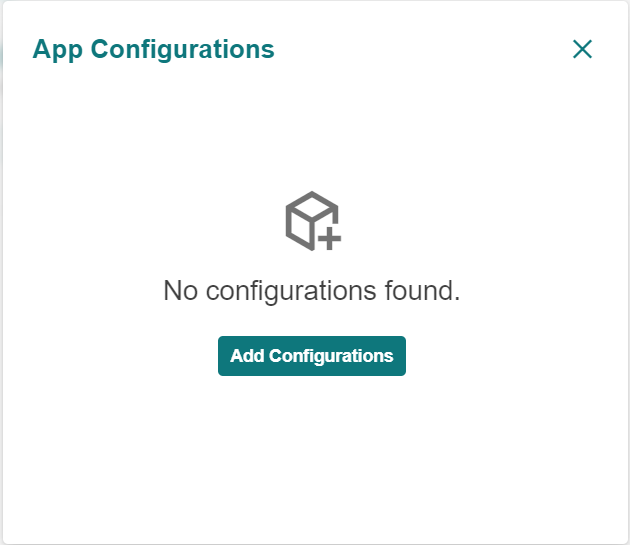
Click "Configurations".
-
Click "Add Configurations".
-
Configuration Types:
Select the type of configuration to be created.
Enable the "Secure" toggle, if you want secured configuration. This will ensure that the uploaded configuration files are encrypted and stored on the IEM.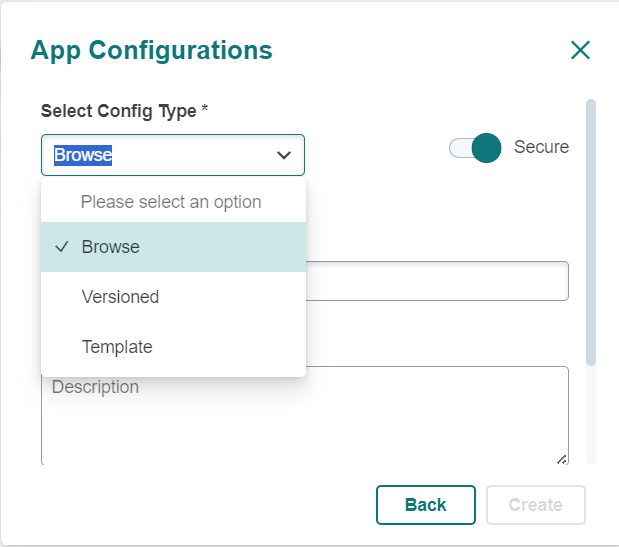
-
Browse Type Configuration
-
The following are the parameters used to create an application configuration:
'Display Name' - Name of the configuration.
'Description' - Description of the configuration.
'Host Path' - Mounted volume path that is configured in the "*.yaml" configuration file of the app.
'Sub Path' - Relative path (optional field). -
After entering the required details, click 'Create'.
Later, the file will be uploaded through the IEM, which is optional.
-
-
Versioned Type Configuration:
-
First, fill in the parameters of the screen as described in the "Browse Type Configuration" section.
The created configuration still does not have a version-specific configuration file. -
To add a required file to a specific version, click the 'add' icon in the List Configurations screen.
Enter the name of the version and the description in the according input fields.
Click "Upload File" and select the required configuration file for the version.
Click "Add".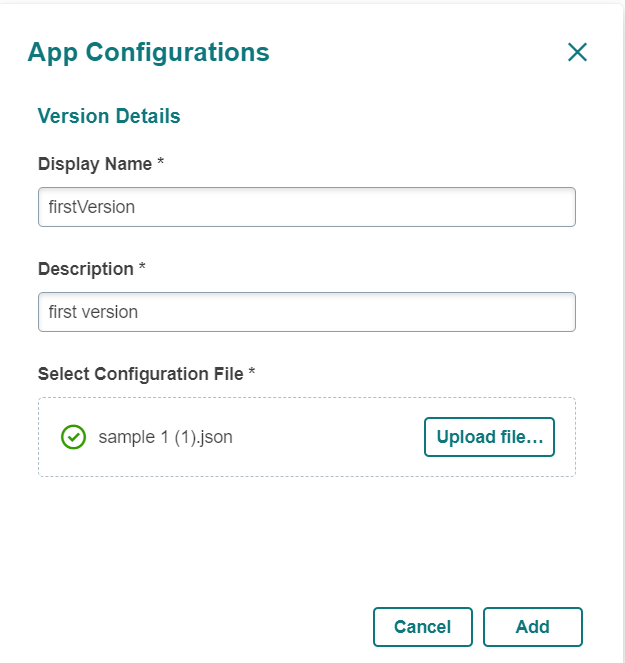
-
-
Template Type Configuration:
-
Fill out the parameters of the screen as stated in the "Browse Type Configuration" section.
-
Enter the name and description of the template.
If the template based configuration file you want to use is in the "*.json" format, enable the "JSON Schema" toggle.
To add the template file, click "Upload File" and select the template based configuration file.
Click "Create".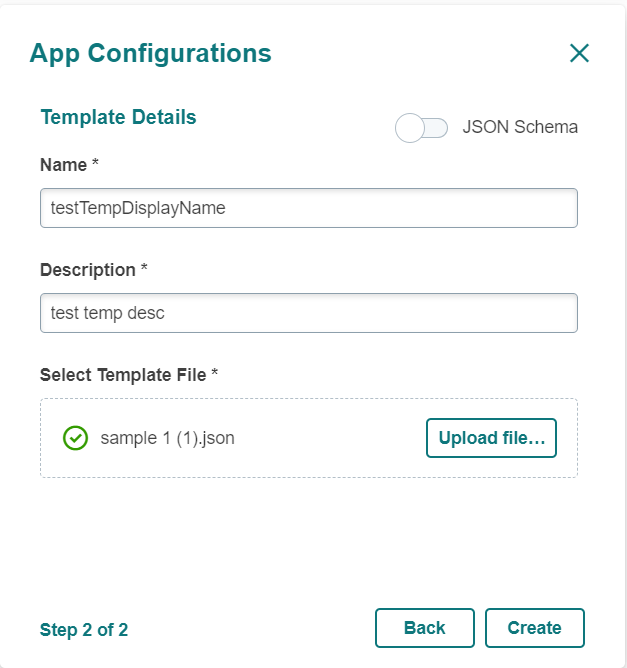
-
-
-
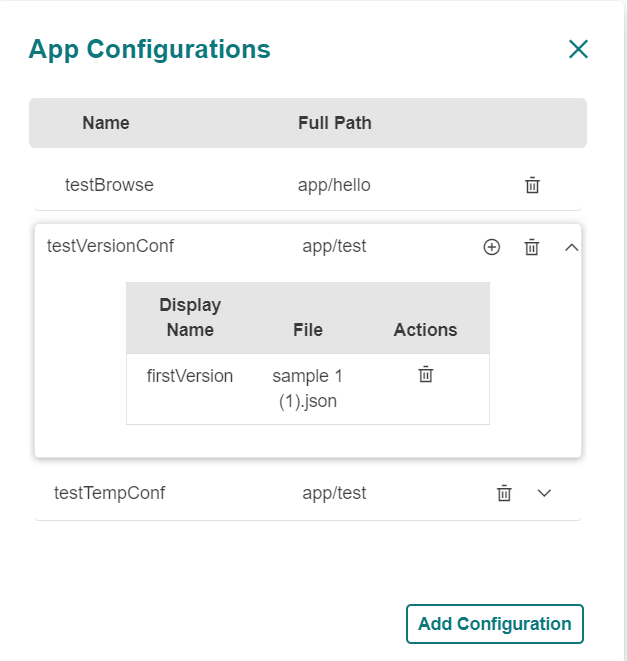
List App Configurations
- A list of all added configurations for the application is displayed.
-
Version or template type configuration can be expanded to the further details.
Help
The help menu contains following:
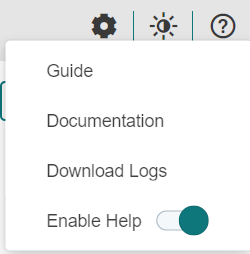
Guide Snapshot based walkthrough of the plugin.
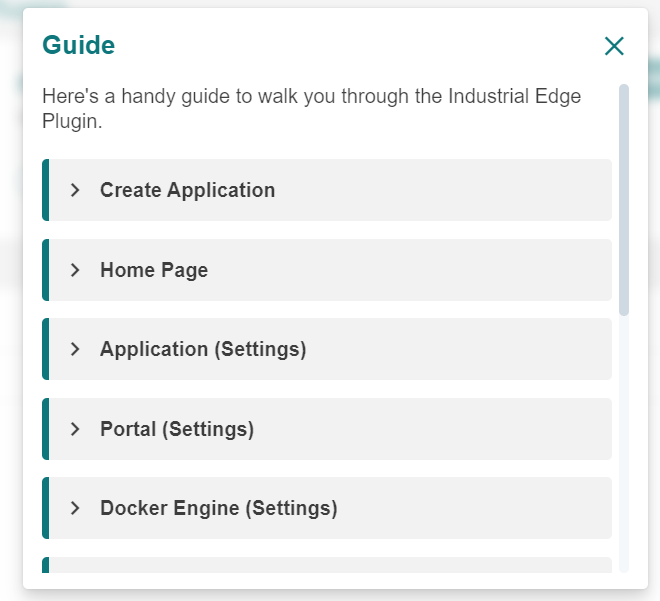
Documentation
Link of the documentation of IE Plugin.
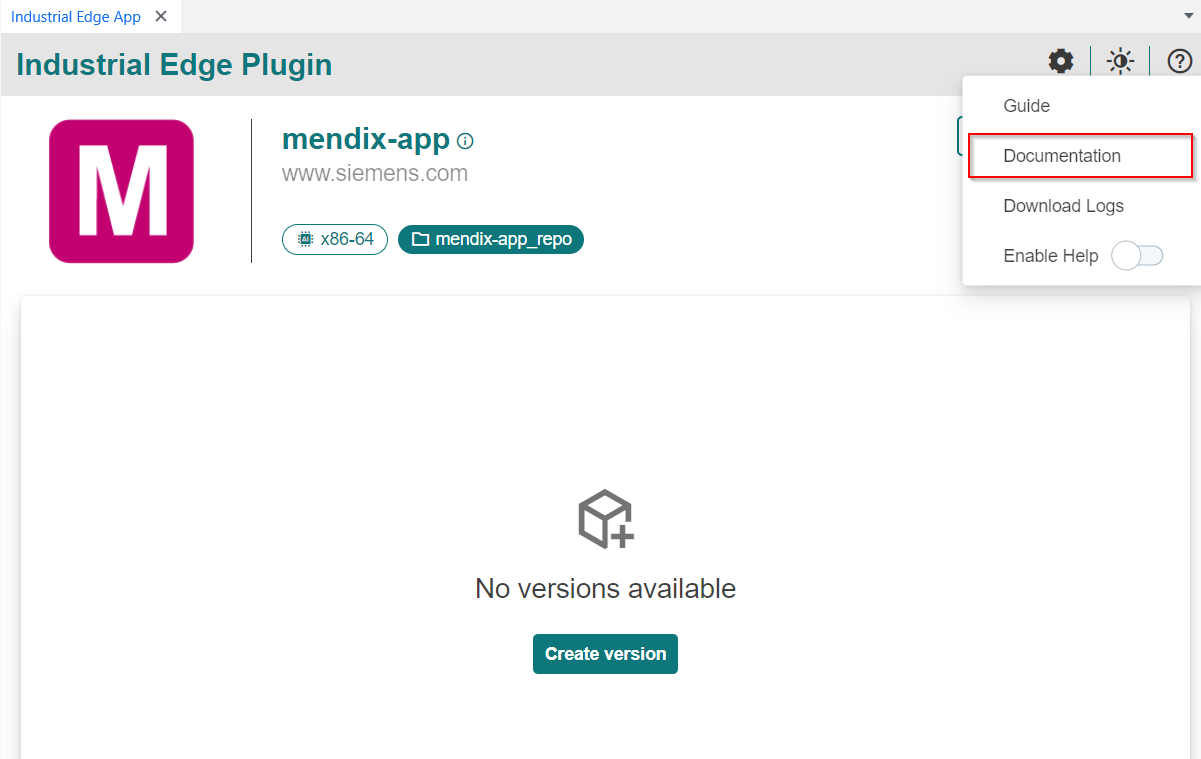
Download Logs It download latest logs of the plugin.
Enable Help This toggle enable/disable the information for tile.